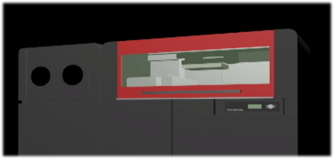
Binder Jetting
- The binder jetting process uses two materials.
- A powder-based material and binder
- Typically, the binder is in the form of a liquid and the build material in the form of powder
- A print head moves horizontally along the x and y axes of the machine and deposits alternating layers of the build material and the binding material
- Does not use a lot of heat and full color is attainable
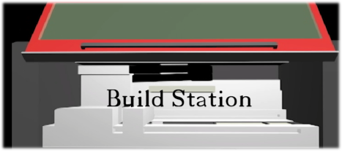
- Dispenser filled with powder to ensure proper supply during the actual printing
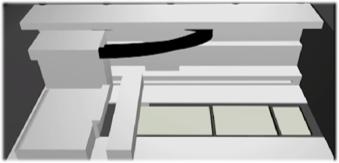
- First, a layer of powder of a particular thickness value is spread
- Then, the printing head moving along the XY plane deposits the binder at the required locations
Binder Jetting Steps
- The solvent contained in the binder is evaporated by an incandescent lamp before the next layer can be deposited
- Then, powder bed lowered & new powder layer is deposited
- The steps are repeated till the completed part is created layer by layer in a series of steps
- Curing of the binder needs to be done by placing in a furnace
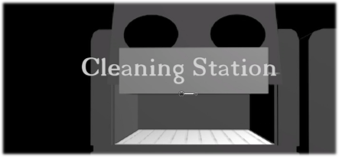
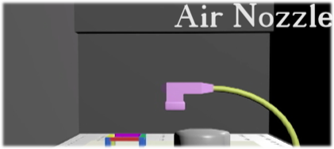
- Unbound particles are removed to reveal the part (de-powdering table). An airgun can also be used to brush the powder off the models
- Temperature, duration depend on factors such as binder, powder material, etc.
- Metal and ceramic parts must undergo sintering and filtration heat treatment or hot isostatic pressing before they can be used
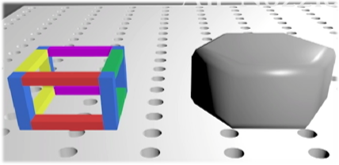
Binder Jetting Step-by-Step Visually
- Binder Jetting operates by splitting 3D model data into 2D layers and printed onto a build tray
- The tray is filled with powder that inkjet nozzles spray onto the surface
- The powder fuses together where the nozzle sprayed, creating a solid layer.